26th Nov 2018
Antifouling your boat is one of the most important maintenance jobs. It will increase the life span of your boat and can even reduce fuel consumption by up to 5%. Here’s how to apply antifouling to your boat in seven simple steps.
Introduction -
Antifouling your boat is one of the most important maintenance jobs. It will increase the life span of your boat and can even reduce fuel consumption by up to 5%. Here’s how to apply antifouling paint to your boat in seven simple steps.
Step One – Safety:

As with any task, applying antifoul can be dangerous if you do not take the correct precautionary steps. Ensure you are working in a ventilated space and are wearing the correct personal protective equipment. We would recommend this protective equipment includes:
- Eye protection
- Nitrile gloves
- A mask to cover both your nose and mouth
- Overalls that do not leave any skin exposed
It is important that you also follow any local regulations that may apply to the space you are working in.
Step Two – Preparation:

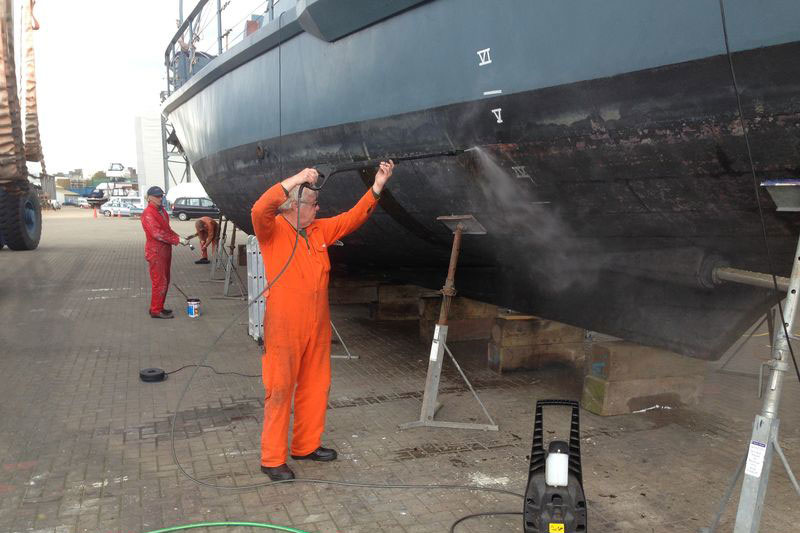
Pressure wash your hull thoroughly - removing any grime, loose barnacles and weeds on the bottom of your boat. If there is a build-up of old antifoul or antifoul that is not in a good condition, remove it by using an antifoul stripper or by blasting the hull. Not doing this can lead to delamination, blistering or a decrease in antifouling performance.
Step Three – Masking:

Mask up the areas you want to paint. You get what you pay for with masking tape. Purchasing good quality tape can save you a lot of time.
Step Four – Repairs (if necessary):
Inspect the hull thoroughly for any areas of damage, including peeling or separation. If there is damage, then fairing and filling may be necessary. Check for any signs of gelcoat damage and osmosis, then deal with them appropriately.
Step Five – Priming:
Applying a primer is a must for bare surfaces and will also help the antifoul will properly stick to the hull. Many primers contain technology that enables multiple coats to be applied in just one day. Furthermore, primers including Hempel’s Underwater Primer can also be used a sealing between old and new antifoul.
Before we get to application, here are two important things to remember when deciding which antifoul to purchase:
Water Type -
Different antifoul is suitable for different types of water. If you’re unsure what type of water your antifoul is suitable for, you can find out by using our handy product filters.
How much antifouling do I need? -
Using the manufacturer guidelines, figure out how much antifoul your boat will need and ensure you do not under apply the formula in an effort to cut costs. Many people do not apply the correct amount of layers or the right level of thickness and go on to regret it! A paint thickness gauge will ensure that you have the right level of thickness.
Our product descriptions include helpful links to product data sheets and paint calculators for each individual product and brand. These can be found under ‘Useful Links’.
Step Six – Application:
Ensure the antifoul paint is mixed thoroughly with a stirring stick as many of the ingredients can sink to the bottom whilst the tin has been standing on the shelf. If possible, apply the formula late morning or early afternoon to avoid dampness or overnight dew. As mentioned previously, ensure you apply the recommended number of coats and achieve the required level of thickness.
International recommend that you apply an extra coat to areas that experience more water turbulence including trim tabs, outdrives, keels and rudders.
Step Seven – Enjoy!
Antifouling is developed to work when the boat is in motion, so the more you use your boat, the better your antifouling will work. So go out and enjoy your time on the water!


